How To Register Your Ecobee Thermostat?

Once you purchase your thermostat and get it installed, the next step is to register it as soon as possible. The registration process is important as it allows you to take full benefit of the thermostat. If you get your thermostat registered then it will be easily controlled through the Ecobee app. You can have full control over your device, you can see weather statistics and even access the runtime data through the portal.
PROCEDURE:
Well, we have told you that you have to get your thermostat registered no matter what. But what if you don’t know how to get it registered? You don’t need to worry about this as we are here to guide you just like we did when you wanted your Ecobee to control the humidifier or the time when you wanted to install Ecobee thermostat using a power extender. Just follow the below mentioned steps to get more knowledge on “How to register Ecobee thermostat”.
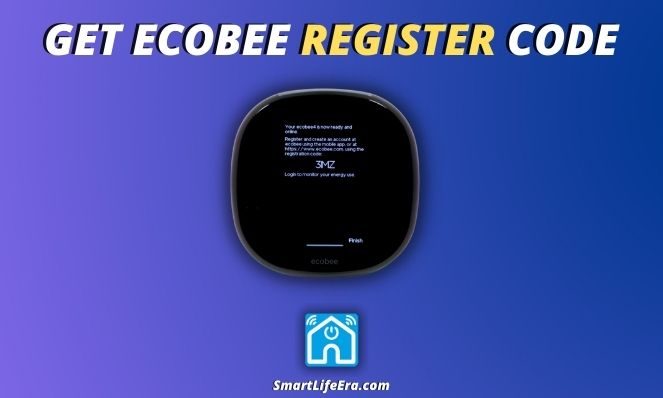
GET ECOBEE REGISTER CODE
The very first thing that you need to do is get your hands on the Ecobee registration code. To obtain this code you need to follow some steps.
STEPS TO FOLLOW:
STEP 1 – Head towards your thermostat and navigate towards “Main Menu”
STEP 2 – Tap on “Registration” option
STEP 3 – If the option says “2 steps left” then you will be automatically taken to the Wi-Fi configuration screen at first so that your thermostat gets connected to your home Wi-Fi network
STEP 4 – After establishing a successful connection, the 4-digit code will be displayed on the thermostat screen
STEP 5 – Use this code to register your thermostat, via web-portal or via mobile app
I FORGOT MY ECOBEE REGISTRATION CODE!
Make sure you write the Ecobee thermostat registration code somewhere because these codes are valid only for an hour. After this duration they expire and you will have to perform the above steps again to get your hands on another code. This Ecobee registration code reset option is beneficial because if you forget your registration code for some reason then you can regenerate it without any worry.
WHAT IF I DON’T SEE “REGISTRATION” OPTION?
If you don’t see the “Registration” option then it means your device is already registered and there are no steps left to perform.
REGISTRATION THROUGH MOBILE APP:
If you choose to register your Ecobee thermostat through mobile app then this section of the article is definitely for you.

STEPS TO FOLLOW:
STEP 1 – Make sure you have “Ecobee App” installed on your device
STEP 2 – Tap on “Create New Account” option
STEP 3 – Fill the requirements and check the “I accept the Terms and Conditions” check box
STEP 4 – Press “Create Account”
STEP 5 – Choose a suitable name for your home and provide the address as well
STEP 6 – Now select “Add a device” option
STEP 7 – From the pop-up menu choose “Register a device”
STEP 8 – Choose Ecobee thermostat as your device from the available options
STEP 9 – Now enter that registration code which you have obtained earlier
STEP 10 – After this fill the “Home Details” form to proceed further
STEP 11 – Select “Done” once you have filled each requirement box
After completing the above mentioned steps, you will now witness a “Congratulations Screen” telling you that your device has been successfully registered.
REGISTRATION THROUGH WEB PORTAL:
If you choose to register your Ecobee thermostat through web portal then this section of the article is definitely for you.

STEPS TO FOLLOW:
STEP 1 – Open your browser and search for this link “ecobee.com/register” without the quotations
STEP 2 – From the available options, choose the Ecobee model which you want to register
STEP 3 – Now enter the obtained registration code and hit “Next”
STEP 4 – Fill all the required fields in order to proceed further
STEP 5 – Once you are done press “OK”
ECOBEE RESET REGISTRATION:
There might come a time when you wish to reset the registration of your Ecobee thermostat. Well, the good news is that this is possible and we will explain it how.
STEPS TO FOLLOW:
If you want to reset the Ecobee registration then follow the below steps.
STEP 1 – Open the “Main Menu” page on your Ecobee thermostat
STEP 2 – Navigate towards “Settings” page
STEP 3 – Choose “Reset” option
STEP 4 – From the available options choose “Reset Registration”
STEP 5 – Follow the prompts carefully to successfully unregister your thermostat
HOW TO CHANGE PASSWORD ON ECOBEE THERMOSTAT?
To change password on Ecobee thermostat make sure you follow the below mentioned steps.
STEPS TO FOLLOW:
STEP 1 – Visit the “Login Page”
STEP 2 – Select “Forgot Password?” option
STEP 3 – Enter the relevant email address that is associated with your Ecobee account
STEP 4 – Check your email which will come with a link that will allow you to reset the password
STEP 5 – Wait for the confirmation email and you will be good to go
ENDING WORDS:
Getting your thermostat registered is so much important. However, if you don’t know what to do in the registration process or how to do it then kindly direct towards the above section of this article and you will get all the answers. Make sure to give it a good read as it will answer your query of “How to register my Ecobee thermostat?”
FREQUENTLY ASKED QUESTIONS:
Q – Can I Register My Ecobee Thermostat Through Web Portal?
A – Yes, you can register your Ecobee thermostat via web portal or mobile app as well.
Q – How To Reset Ecobee Without Password?
A – To reset your Ecobee without password follow the below mentioned steps:
STEP 1 – Select “Menu” and then “Settings”
STEP 2 – Choose “Reset” option
STEP 3 – Go for “Reset All Settings” and press “Yes”
STEP 4 – Choose the reset option according to your preferences
STEP 5 – The reset procedure will be started accordingly
Q – From Where Will I Get The Registration Code?
A – You can get the registration code from the thermostat screen. Make sure to note down that code as it will expire after 1 hour.


